
1 实现方法
(1) 创建
layouts/partials/widget/xxx.html文件,文件名随意(2) 按照以下的模板,把对应的html,script,css代码复制进去
<div>
    <!--html内容-->
</div>

<script>
    // script内容
</script>

<style>
    /* css样式 */
</style>
(3) 修改hugo.yaml文件,在
params.widgets中添加对应widget的名称
2 示例
2.1 时钟组件
(1) 创建
layouts/partials/widget/clock.html文件

(2) 按照实现方法中给出的模板,把html,script,css复制进去
html内容位置:
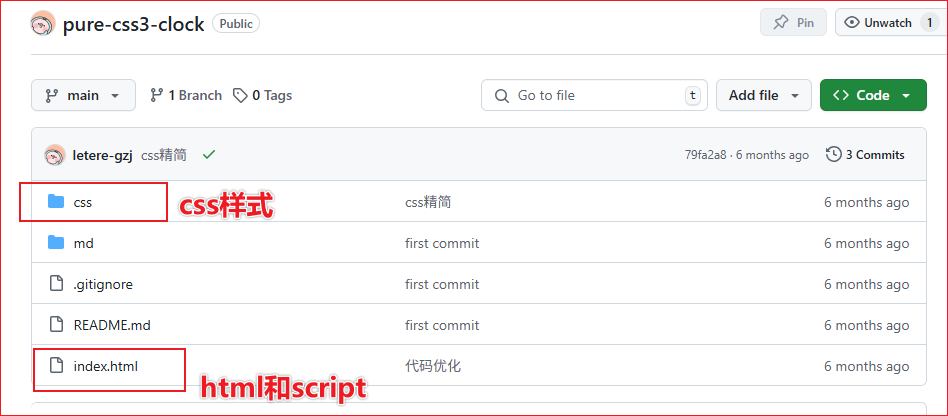
pure-css3-clock/index.htmlscript内容位置:
pure-css3-clock/index.htmlcss样式位置:
pure-css3-clock/css/style.css
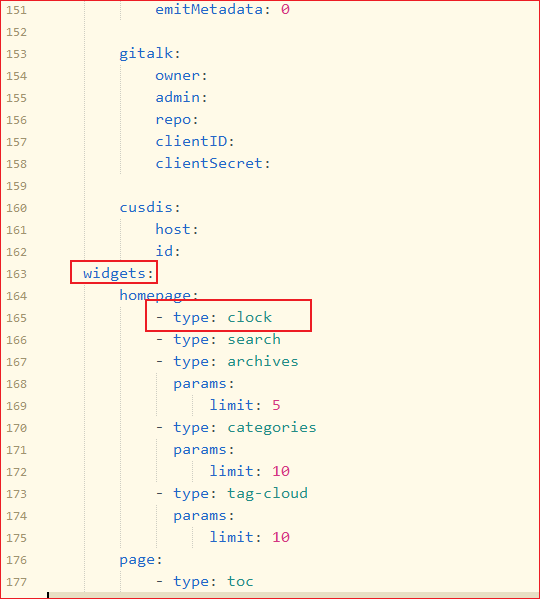
(3) 修改hugo.yaml文件,在
params.widgets中添加clock
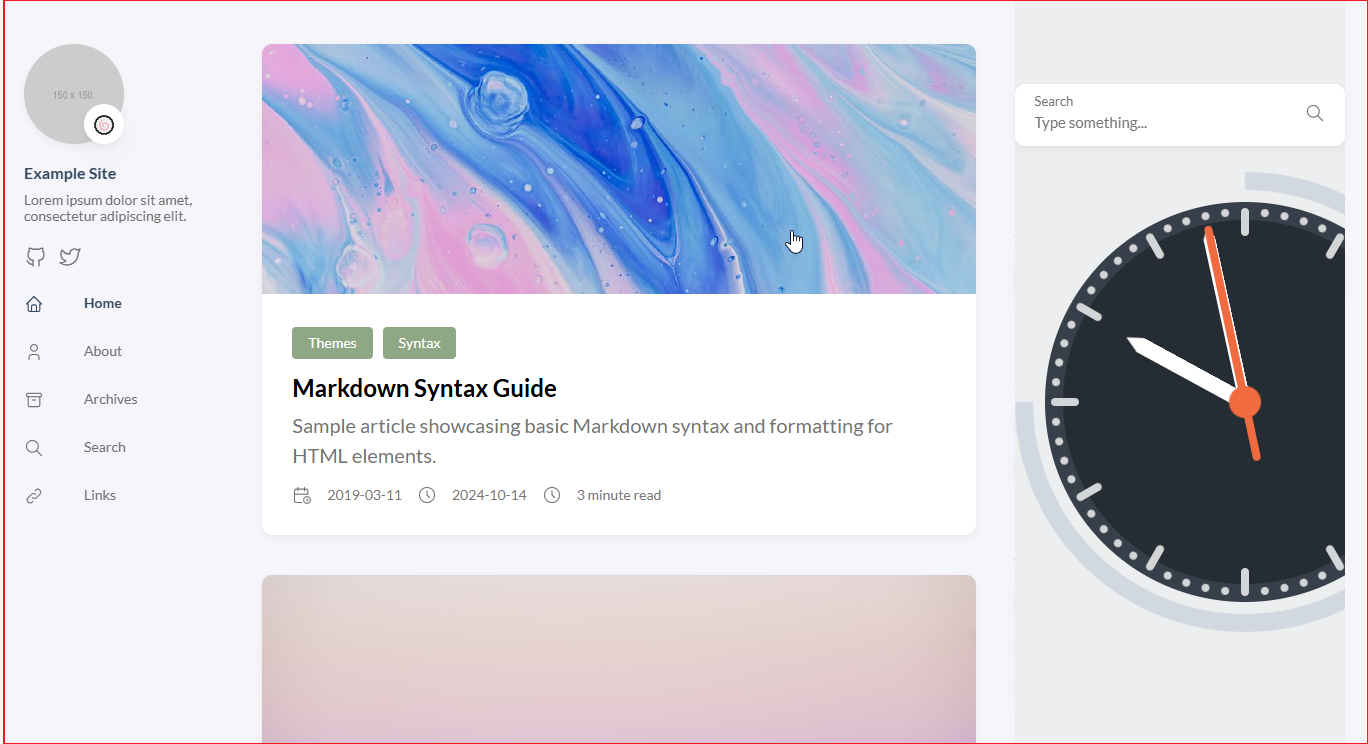
(4) 项目启动后,样式不太对,需对样式进行二次调整,来适配主题
(4) 修改css样式,将对应的样式进行注释(删除)和添加
tips: 没演示到的样式不要乱动
.clock-wrapper {
/* position: absolute; */
/* top: 0; */
/* left: 0; */
/* width: 100%; */
/* height: 100%; */
/* background-color: #eceef0; */
position: relative;
width: 460px;
height: 460px;
zoom: 0.4;
...
}
.clock-border {
/* top: 60px; */
/* bottom: 0; */
/* left: 0; */
/* right: 0; */
...
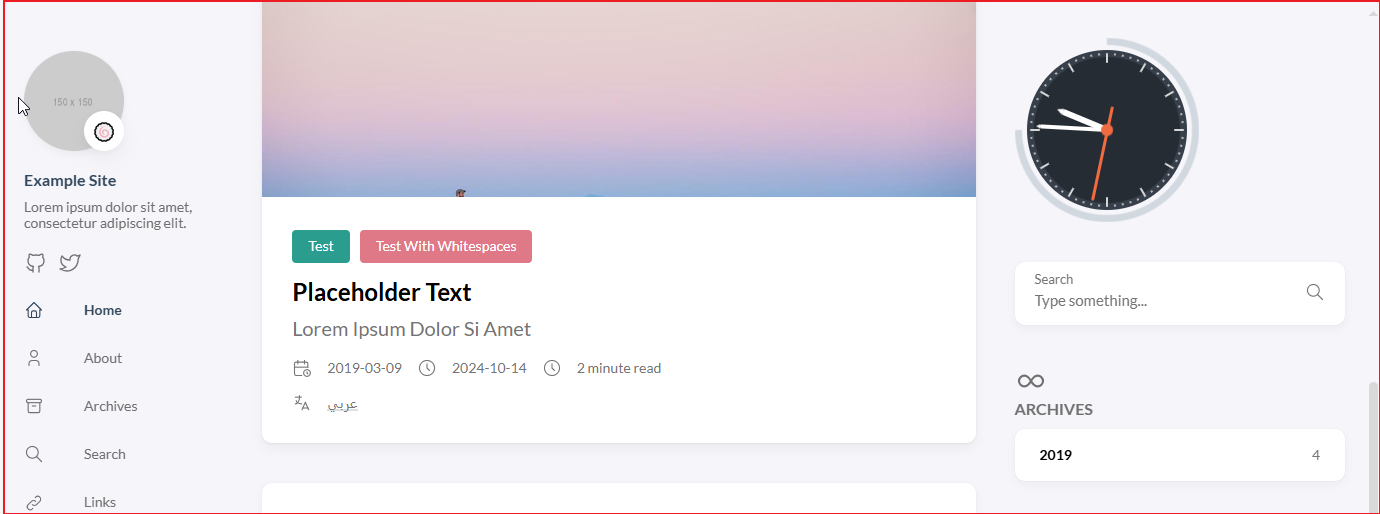
}(5) 刷新项目,样式正常,时钟组件引入成功
这是我改好的clock.html,可以直接下载使用(Ctrl+S保存),下载后将后缀名改回html即可

评论区